
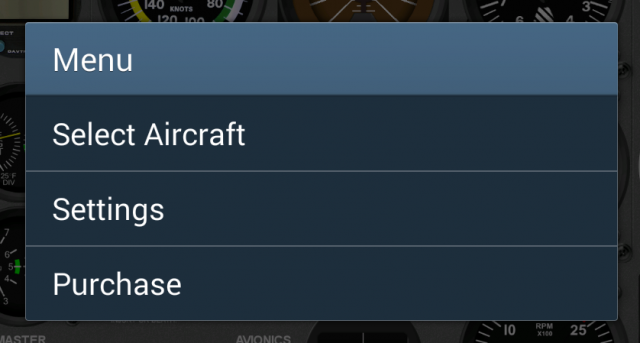
1. Menu
 Clicking on this button, a menu of options appears.
Each panel has its own menu button located in a place where it does not interfere with the instruments.
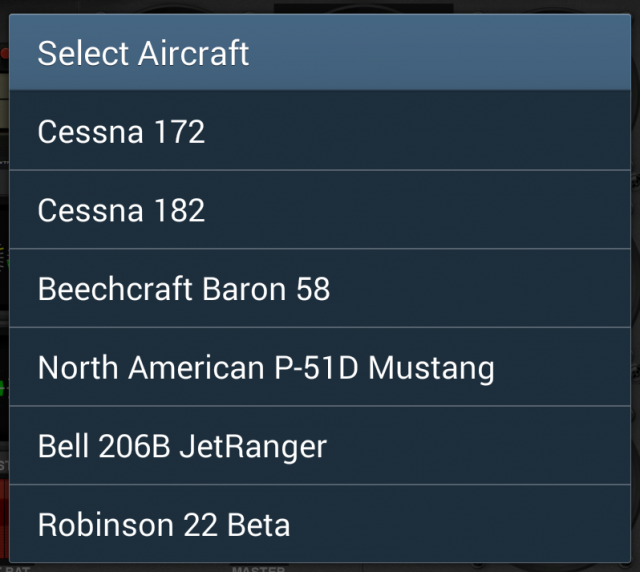
Select Aircraft
It opens a menu with a list of aircraft available to select them manually. This temporarily disables the automatic selection panel which can be enabled in the Settings when app being used with FSX / P3D.
Settings
It opens the settings screen, explained below.
Purchase
It allows you to purchase the application and enjoy it without time limit. This menu option disappears when it has been purchased.
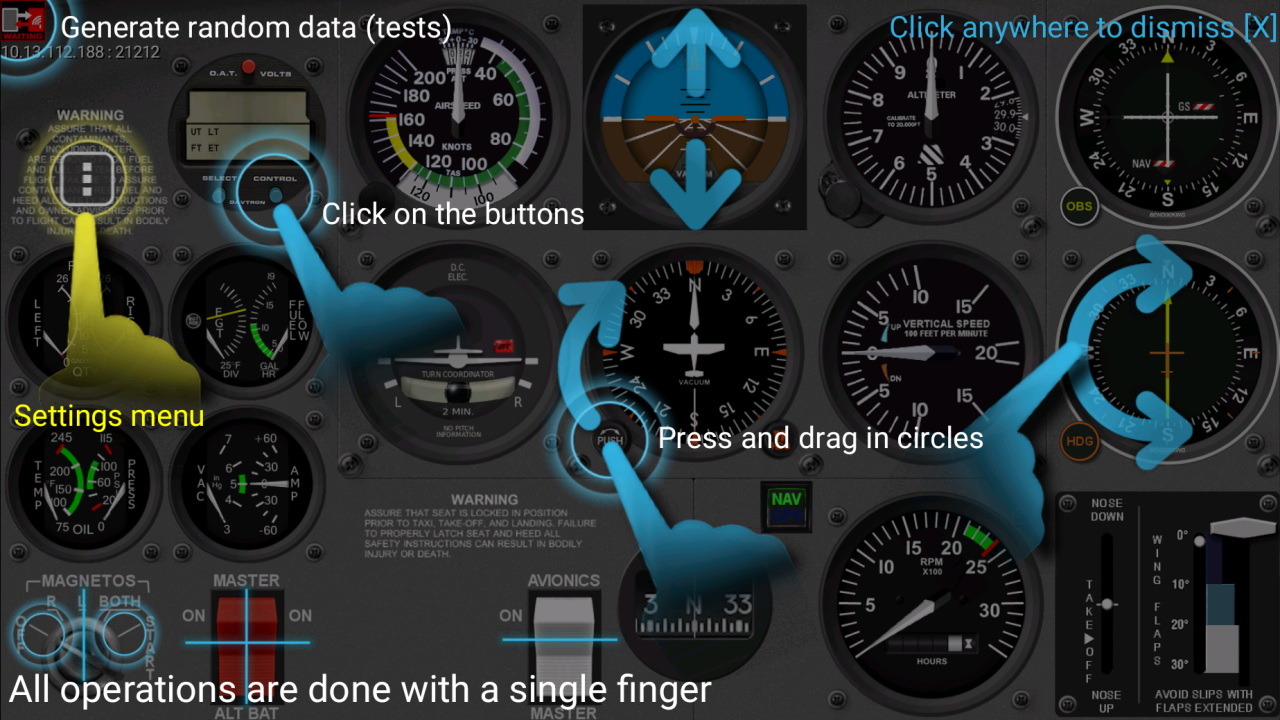
2. Use
Once the connection is established you can start using the application with a single finger.
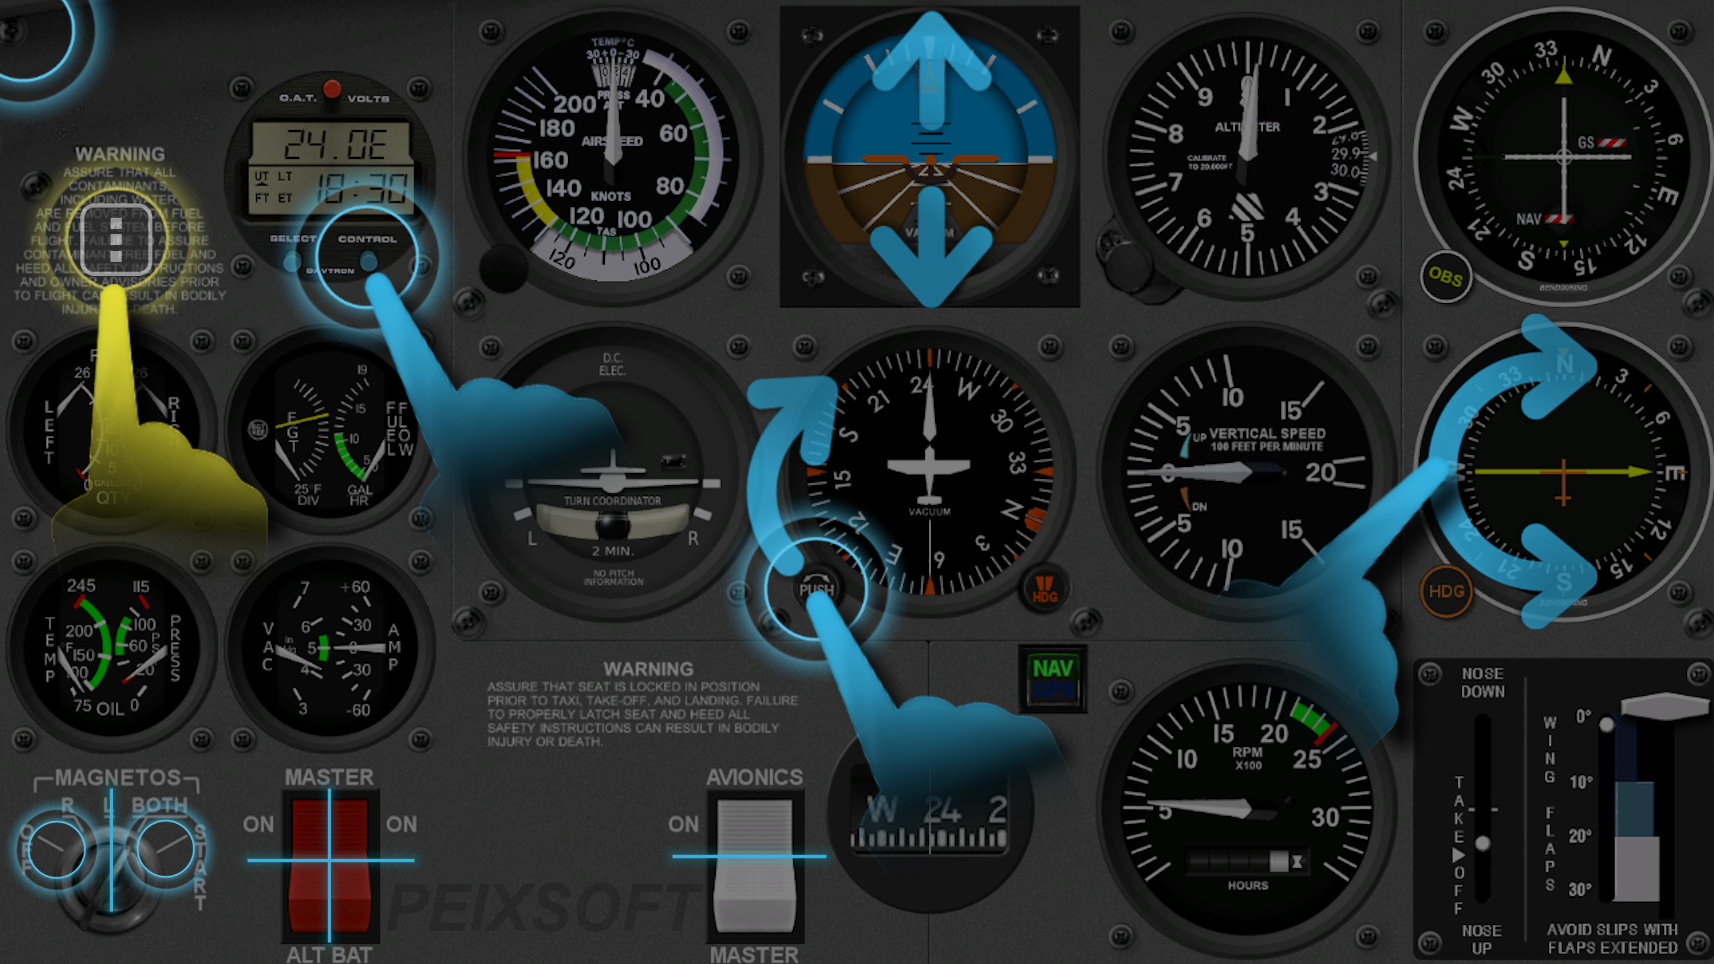
Round gauges
i.e. VOR, ADF, Altimeter, etc. These instruments are modified making circles around them. For instruments with double knob press on the knob and then make the circular motion.
Switches
They only require a click. Some of them are divided into quadrants, for example upper half and lower half, or left half and right half.
- Cessna Magnetos and Baron DME: The selector is moved to the left or to the right sequentially by clicking the left or right half respectively.
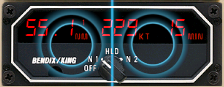
Example: Clicking right half you get: OFF > N1 > N2
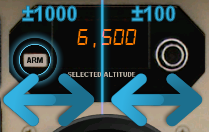
Drag movement
- Attitude indicator, Horizon reference: Can be adjusted dragging up and down.
- Baron Selected Altitude: The altitude can be adjusted in thousands or hundreds, depending on whether you start dragging from the left half or the right half. Arm button requires only a click.
NOTE about FLAPS Lever: Flaps lever is only a visual indication, it does not work expressly because the animation and sound provided by the simulator would be lost.
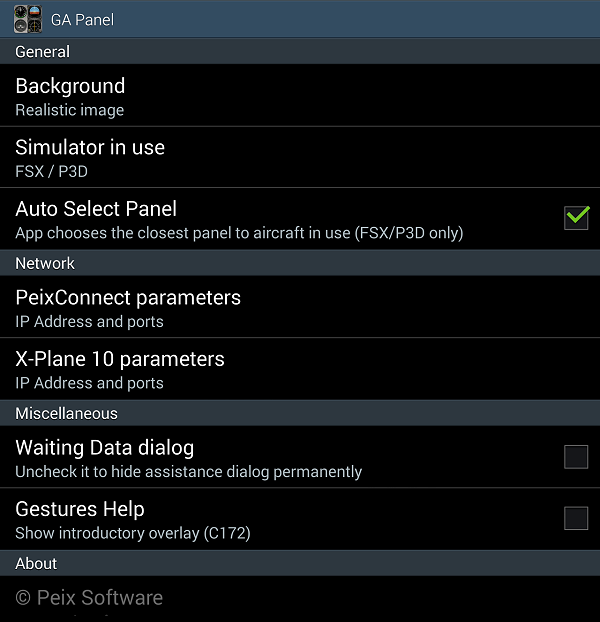
3. Settings screen
Background
It shows several options to select the kind of background to use:
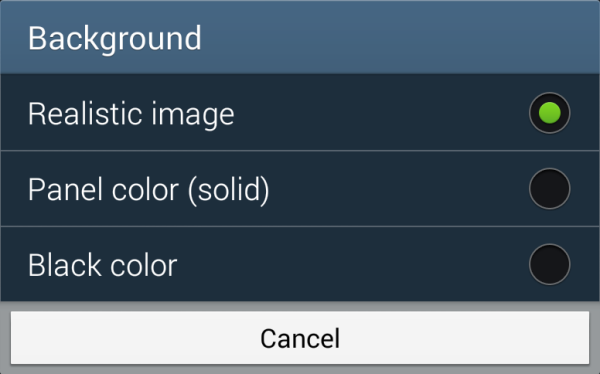
- Realistic image: Shows a realistic picture as background, it uses more CPU and battery consumption.
- Panel color (solid): Shows an unified color similar to the realistic picture.
- Black color: Uses black color as background, it uses less CPU and low battery consumption.
Simulator in use
Selects the simulator in use as a data source.
- MSFS / P3D: Uses Microsoft Flight Simulator or Prepar3D along with PeixConnect as data source.
- X-Plane 11: Uses Laminar Research X-Plane 10 or 11 using direct Net Connection as data source.
- X-Plane 12: Uses Laminar Research X-Plane 12 using direct Net Connection as data source.
Warning: Do not select X-Plane 12 if you are using X-Plane 11, as attempting to request Heli Governor status will cause X-Plane to crash.
Auto Select Panel
This feature only works with MSFS/P3D option, because X-Plane does not report the aircraft model which is loaded. If checked the app tries to choose the closest panel to aircraft in use. If unchecked you must select the aircraft manually using the menu.
PeixConnect Parameters
If simulator in use is MSFS / P3D you should set or use this parameters.

- Local Port: It’s the port through which the mobile device is listening connection.
- Autodetect PeixConnect: If checked the app will try to find the IP address of the computer where PeixConnect runs. If it fails due network restrictions or firewall configuration you can uncheck it and set the IP manually to ensure the packets go to the correct simulator.
- Simulator IP Address: Specifies the IP address of the computer that is running PeixConnect. If Autodetect is enabled this field is disabled.
- Simulator Port: It’s the port that PeixConnect uses to listen for incoming connections. It must be the same as shown on the label “Listening Port” in PeixConnect (usually 43000). Simulator computer firewall must allow UDP connections to that port.
X-Plane parameters
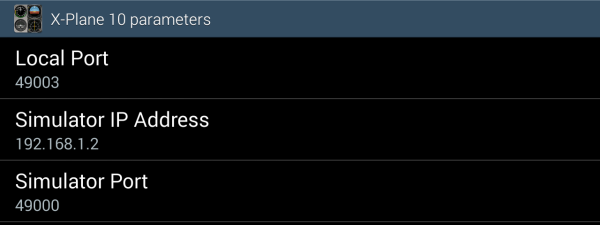
- Local Port: It’s the port through which the mobile device is listening connection. This must be the same as is set in X-Plane > Net Connections > IP for Data Output > IP of data receiver.
- Simulator IP Address: Specifies the IP address of the computer that is running X-Plane.
- Simulator Port: It’s the port that X-Plane uses to listen for incoming connections. This must be the same as is set in X-Plane > Net Connections > UDP Ports > port that we receive on. Simulator computer firewall must allow UDP connections to that port.
Wainting data dialog
If checked, a big help dialog appears in the middle of the screen when no connection is detected showing the steps to get the connection successfully. If unchecked, only a small warning appears in the upper left corner.
Gestures help
If Cessna 172 is selected and you check the box the gesture help screen appears again as shown in the first app execution. It will be unchecked automatically at next start.