

Remarks
X-Plane requires several advanced steps to achieve read and write data to it via network connection without any extra add-on installed. You must follow the steps listed here to get it to work. Please note that X-Plane sends less data than other simulators, so some instrument readings may not be available.
Setting the network addresses
1. Check the Android device “IP : Port” below the WAITING alert.
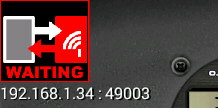
In this example the IP Address is 192.168.1.34 and local port 49003.
Depend on your network configuration the address can be changed any time you reconnect your device to WiFi.
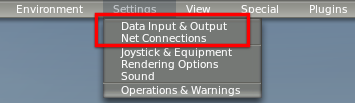
2. Go to Menu Settings > Net Connections
3. Select the Data tab, mark the checkbox labeled “IP of data receiver …” and put the IP and Port shown on device.

Values remarked in blue must be set on Android device.
4. Check device settings: Menu > Settings > NETWORK > X-Plane 10 parameters

5. Set the Simulator IP Address marked with blue arrow in step 3.
Usually in X-Plane only one IP address is listed, but if several have to look at the more digits coinciding with the device (i.e. 192.168.1.xx, the first three blocks of numbers are equal)
6. Local port and Simulator port do not need to be changed, but check it matches the X-Plane port labeled “port that we receive on” (blue box at step 3).
Limiting excessive data
1. Go to Menu Settings > Data Input & Output
2. At lower right corner set UDP rate to 06.0 /sec.
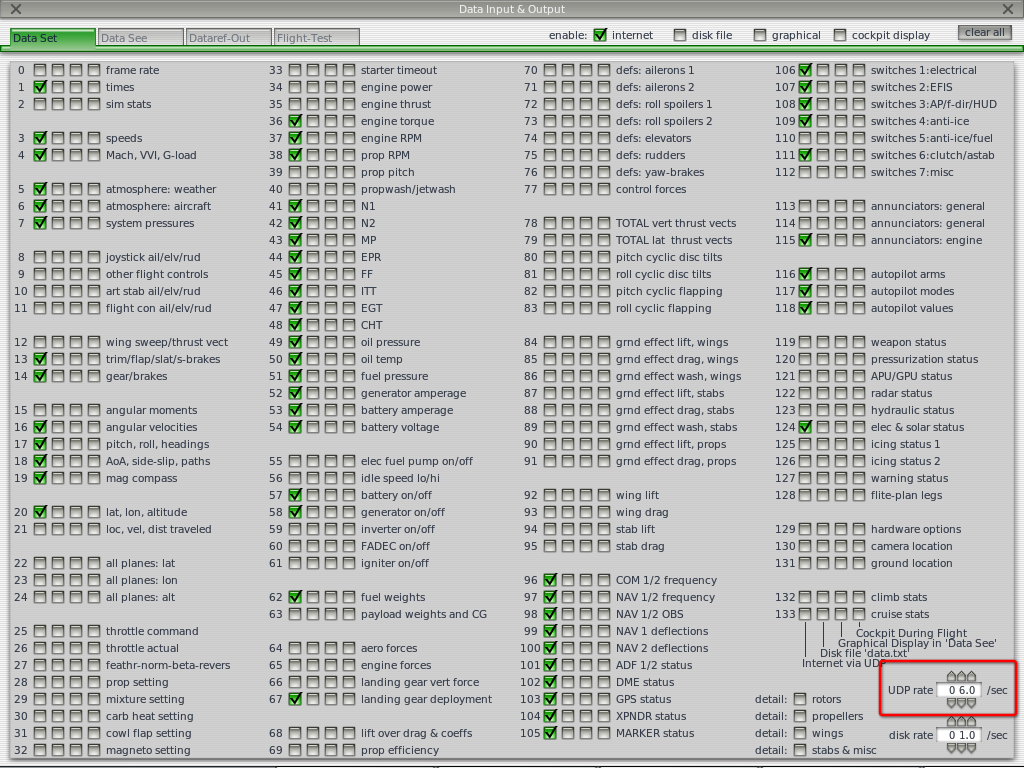
3. Close window.
Advice
DHCP is a network service that provides IP addresses to devices dynamically.
In the event that your access point or router has the DHCP service enabled (usually it is) you can avoid repeating the “setting the network addresses” section reserving a fixed IP address for the device in the DHCP service. If you are unsure how to do it consult a qualified technician.